New way to estimate
We can now write you an estimate, or book an appointment for you without you ever leaving your home. Simply click the link and follow the prompts and all the info we need will be sent directly to us. Once written, you will receive an electronic copy of the estimate either by email or text message. Its a simple way to get the ball rolling on your repairs.
https://www.carwise.com/auto-body-shops/global-fleet-sales-inc-mc-leansville-nc-27301/542871
We’re Moving!!
We’re Moving!
After 11 years at our current location, we’re relocating to a larger facility. Our new location is conveniently located just off Interstate 40/85 at 545 Kivett Dairy Rd, McLeansville, NC 27301.
Our new facility is not only larger, it is also equipped with state-of-the-art equipment to allow us to better serve our customers. We’re changing our location, and offering new services, such as a full detail center, but what isn’t changing is our commitment to quality work and personal service that we’ve always prided ourselves on.
Our current location at 1610 Fairview St, Burlington, NC will be closed beginning January 20, 2020. We will reopen on February 3, 2020 in our new location.
Come visit us at our new location and let me show you that, while our location may have changed, our commitment to personal service, quality workmanship, and fair price hasn’t. That’s the JMC AutoworX way, and that’s my promise to you.
Another tri five?
Yes. That’s right we now have a third tri five shoebox. We started with a ’57. Then we picked up a cool ’55. Well now we have ’56 4 door. It’s in very nice shape. There is no major rust or body damage. The owner has already replaced the door skins and the the fenders were patched some time ago so we will not have any major surgery on this one. We started by stripping the hood and fenders. We chose to those ourselves because they were not rusty on the back sides. We have primed the hood with PPG’s vibrancy line very high build primer. Cole started blocking that out today. Tomorrow we plan on priming the fenders with the same product. Stay tuned.


What’s going on at the shop?
I know it’s been a while since we have posted. We have been pretty busy and we have been making some progress. Here we have the ’70 Beetle project. It’s all complete and ready to go home. This was a complete body off restoration. We painted this one inside and out, replaced the wiring and a complete interior kit. As you can see we kept the outside completely stock except for the lowered and narrowed front beam. This was a fun project. I’m sure the owner will love tooling around in this awesome little bug.


Cabs are here!
The past few days we have been sanding this cab to prepare it for painting. After hours and hours of meticulous work we were finally satisfied with and decided it was time to make it shiny again. We cleaned the booth this morning and set the cab up. We then wiped it down, cleaning every square inch. Once that was done we masked off the floor inside and outside. This was done to keep the floor looking nice and to keep dirt out of the paint. We then did our final wipe with a tach rag and started painting. First a coat of PPG’s DAS sealer was sprayed. Once that was dry 3 coats of DBC color followed by 3 coats of 2021 clear. The more I spray this color, the more I like it. This cab really turned out great. Its nice to see hard work pay off. 


Shoebox gets booth time.
It’s been very busy around the shop for the past few weeks. We have had tons of collision repairs which hasn’t left us much time to work on the restoration cars. We did manage to squeeze in a few hours here and there to get these parts ready for paint and while we were waiting on parts we we decided it was the perfect time to spay them. I’m not sure it this is an actual factory color, the owner had already picked this color before we started the project but I do really like it. We started with a coat of sealer followed by 3 coats of DBC base coat and 2 coats PPG’s 2021 clear. The body work on the rest of the car is coming along great hopefully we can get into the booth soon.


Time to shine!


 Its been a long time coming but we are finally spraying some color on the C-10 project. We had intentions on painting both bedsides today but when we were prepping them, we found a spot on one of them that wasnt up to snuff. So it came back out for repair and we slid the radiator support in in its place. These parts were sealed with PPG’s urethane sealer followed by 3 coats of PPG base coat then 3 coats of clear. Things went smoothly and the turned out very nice. The color looks amazing. We will wet sand and buff the outside of the bedside before reassembly. Hopefully we will get another batch of parts painted in the next couple of weeks.
Raptor liner
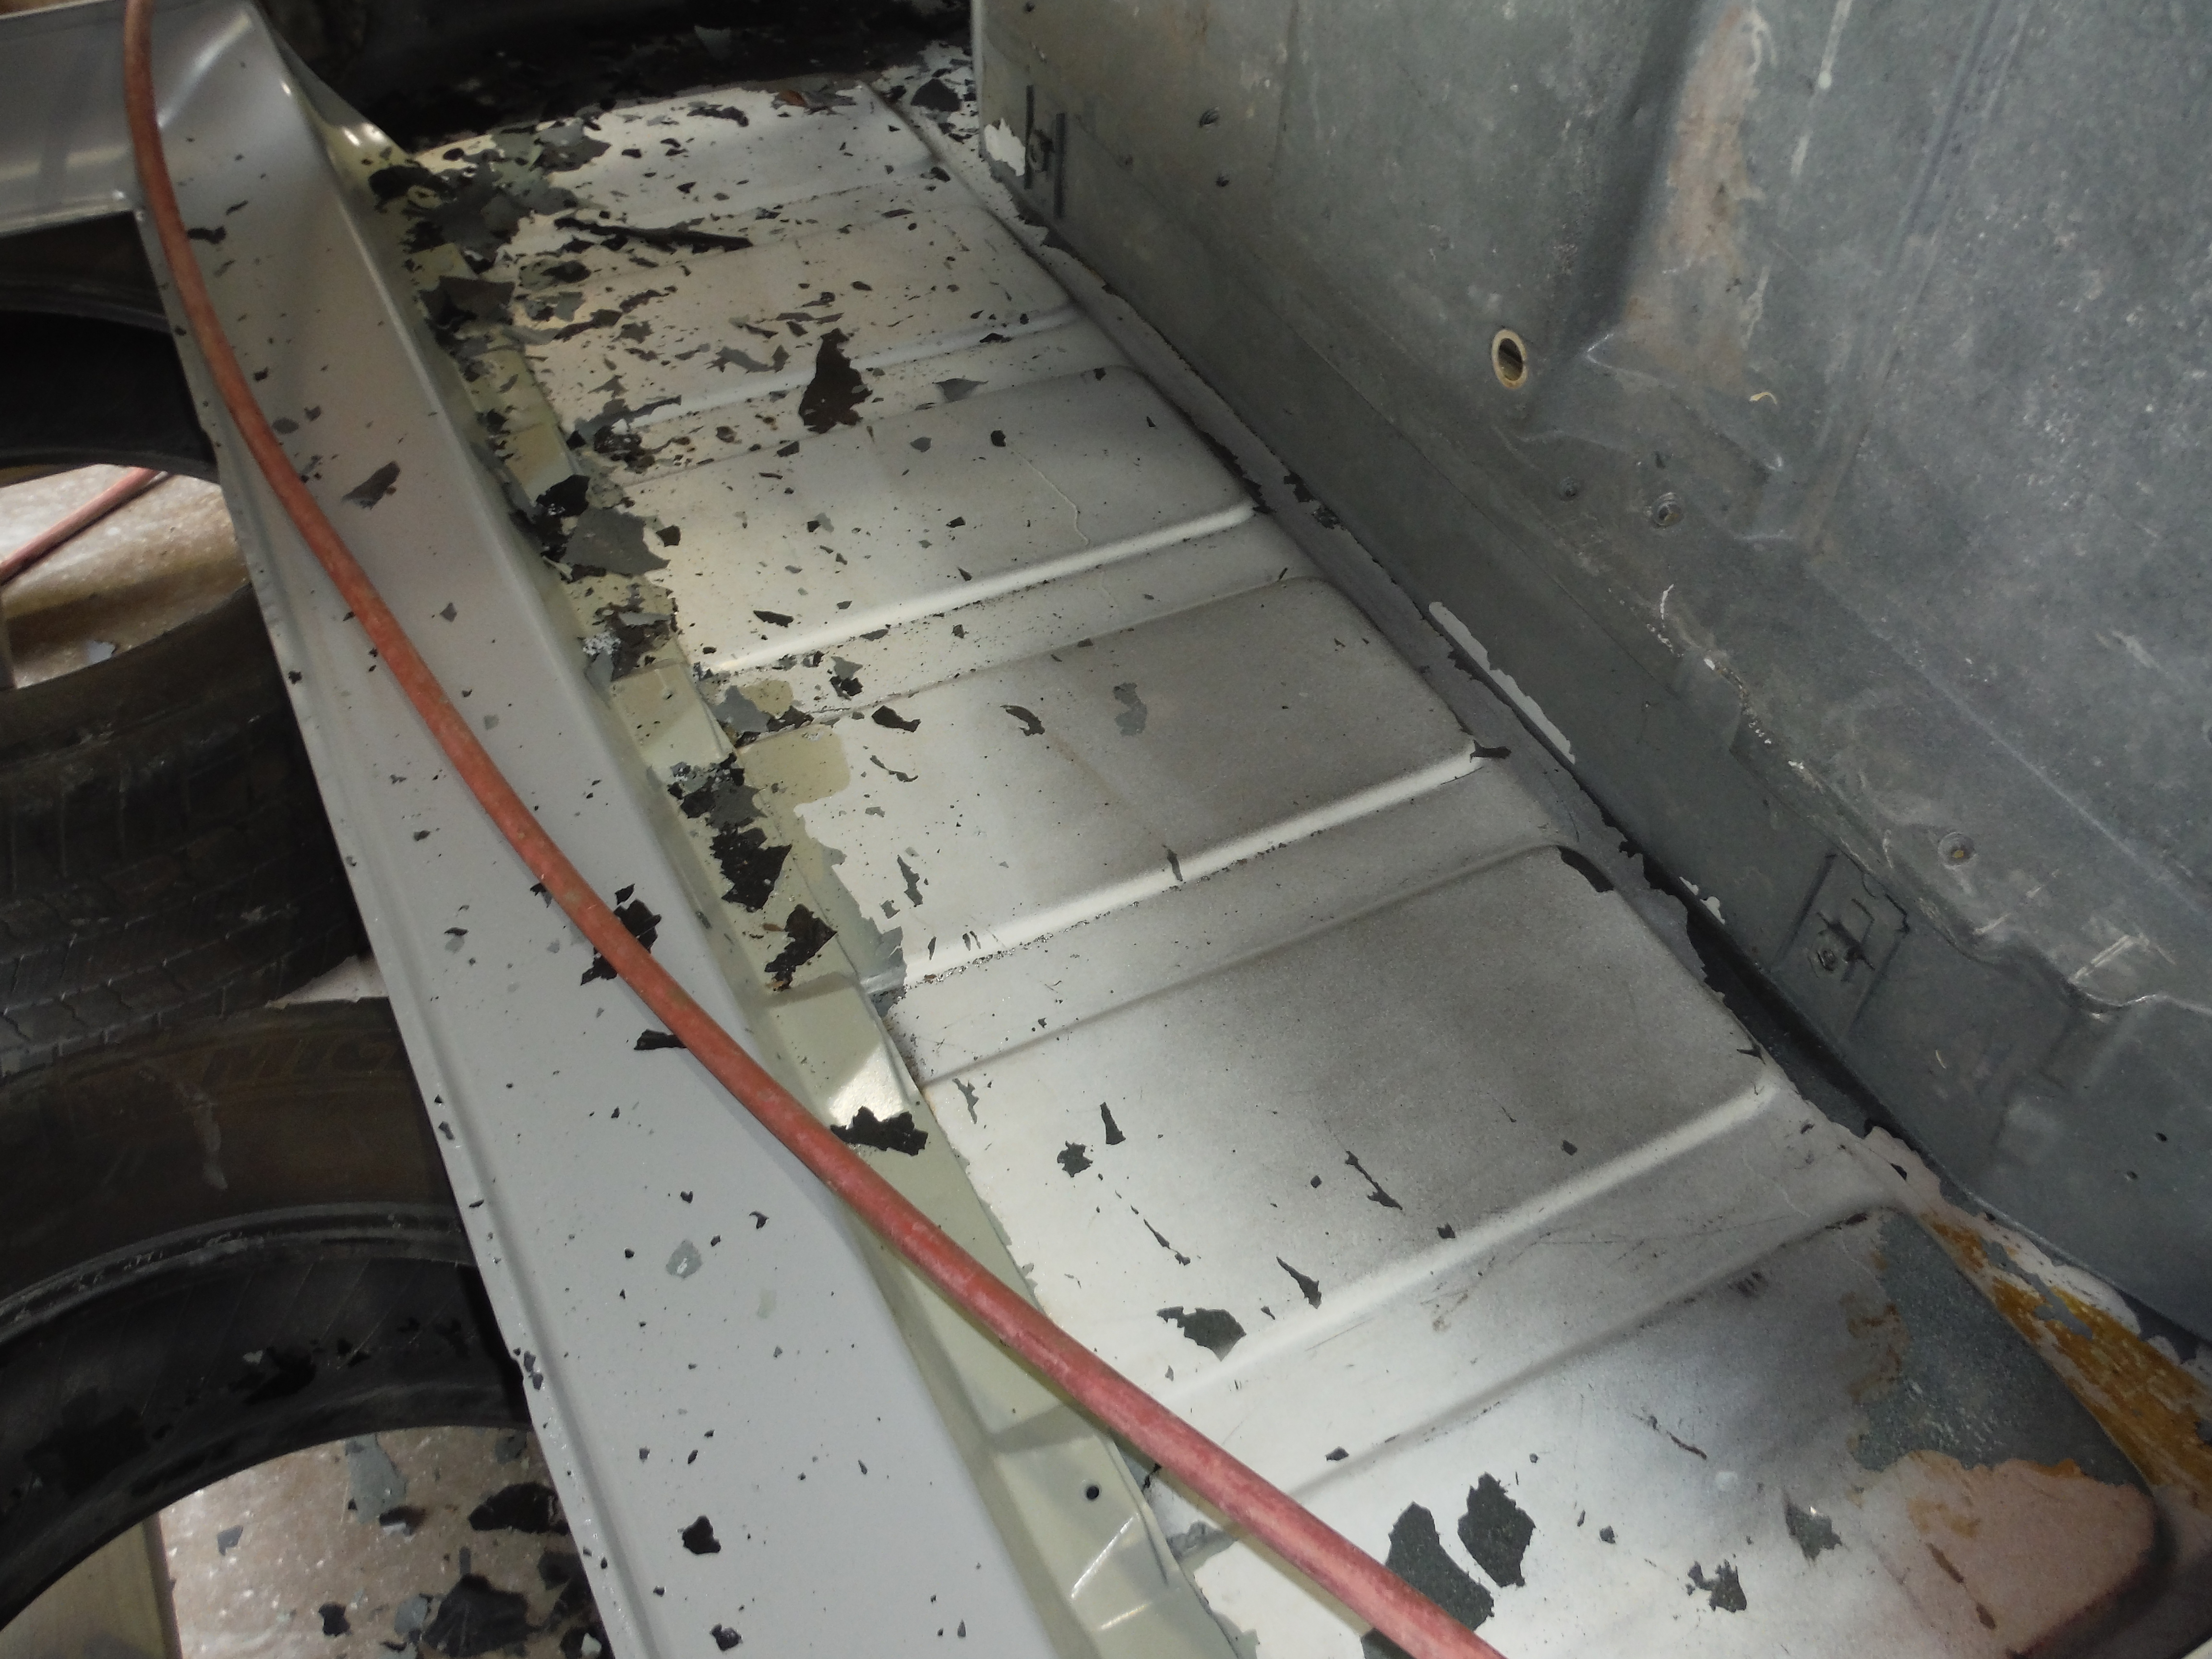


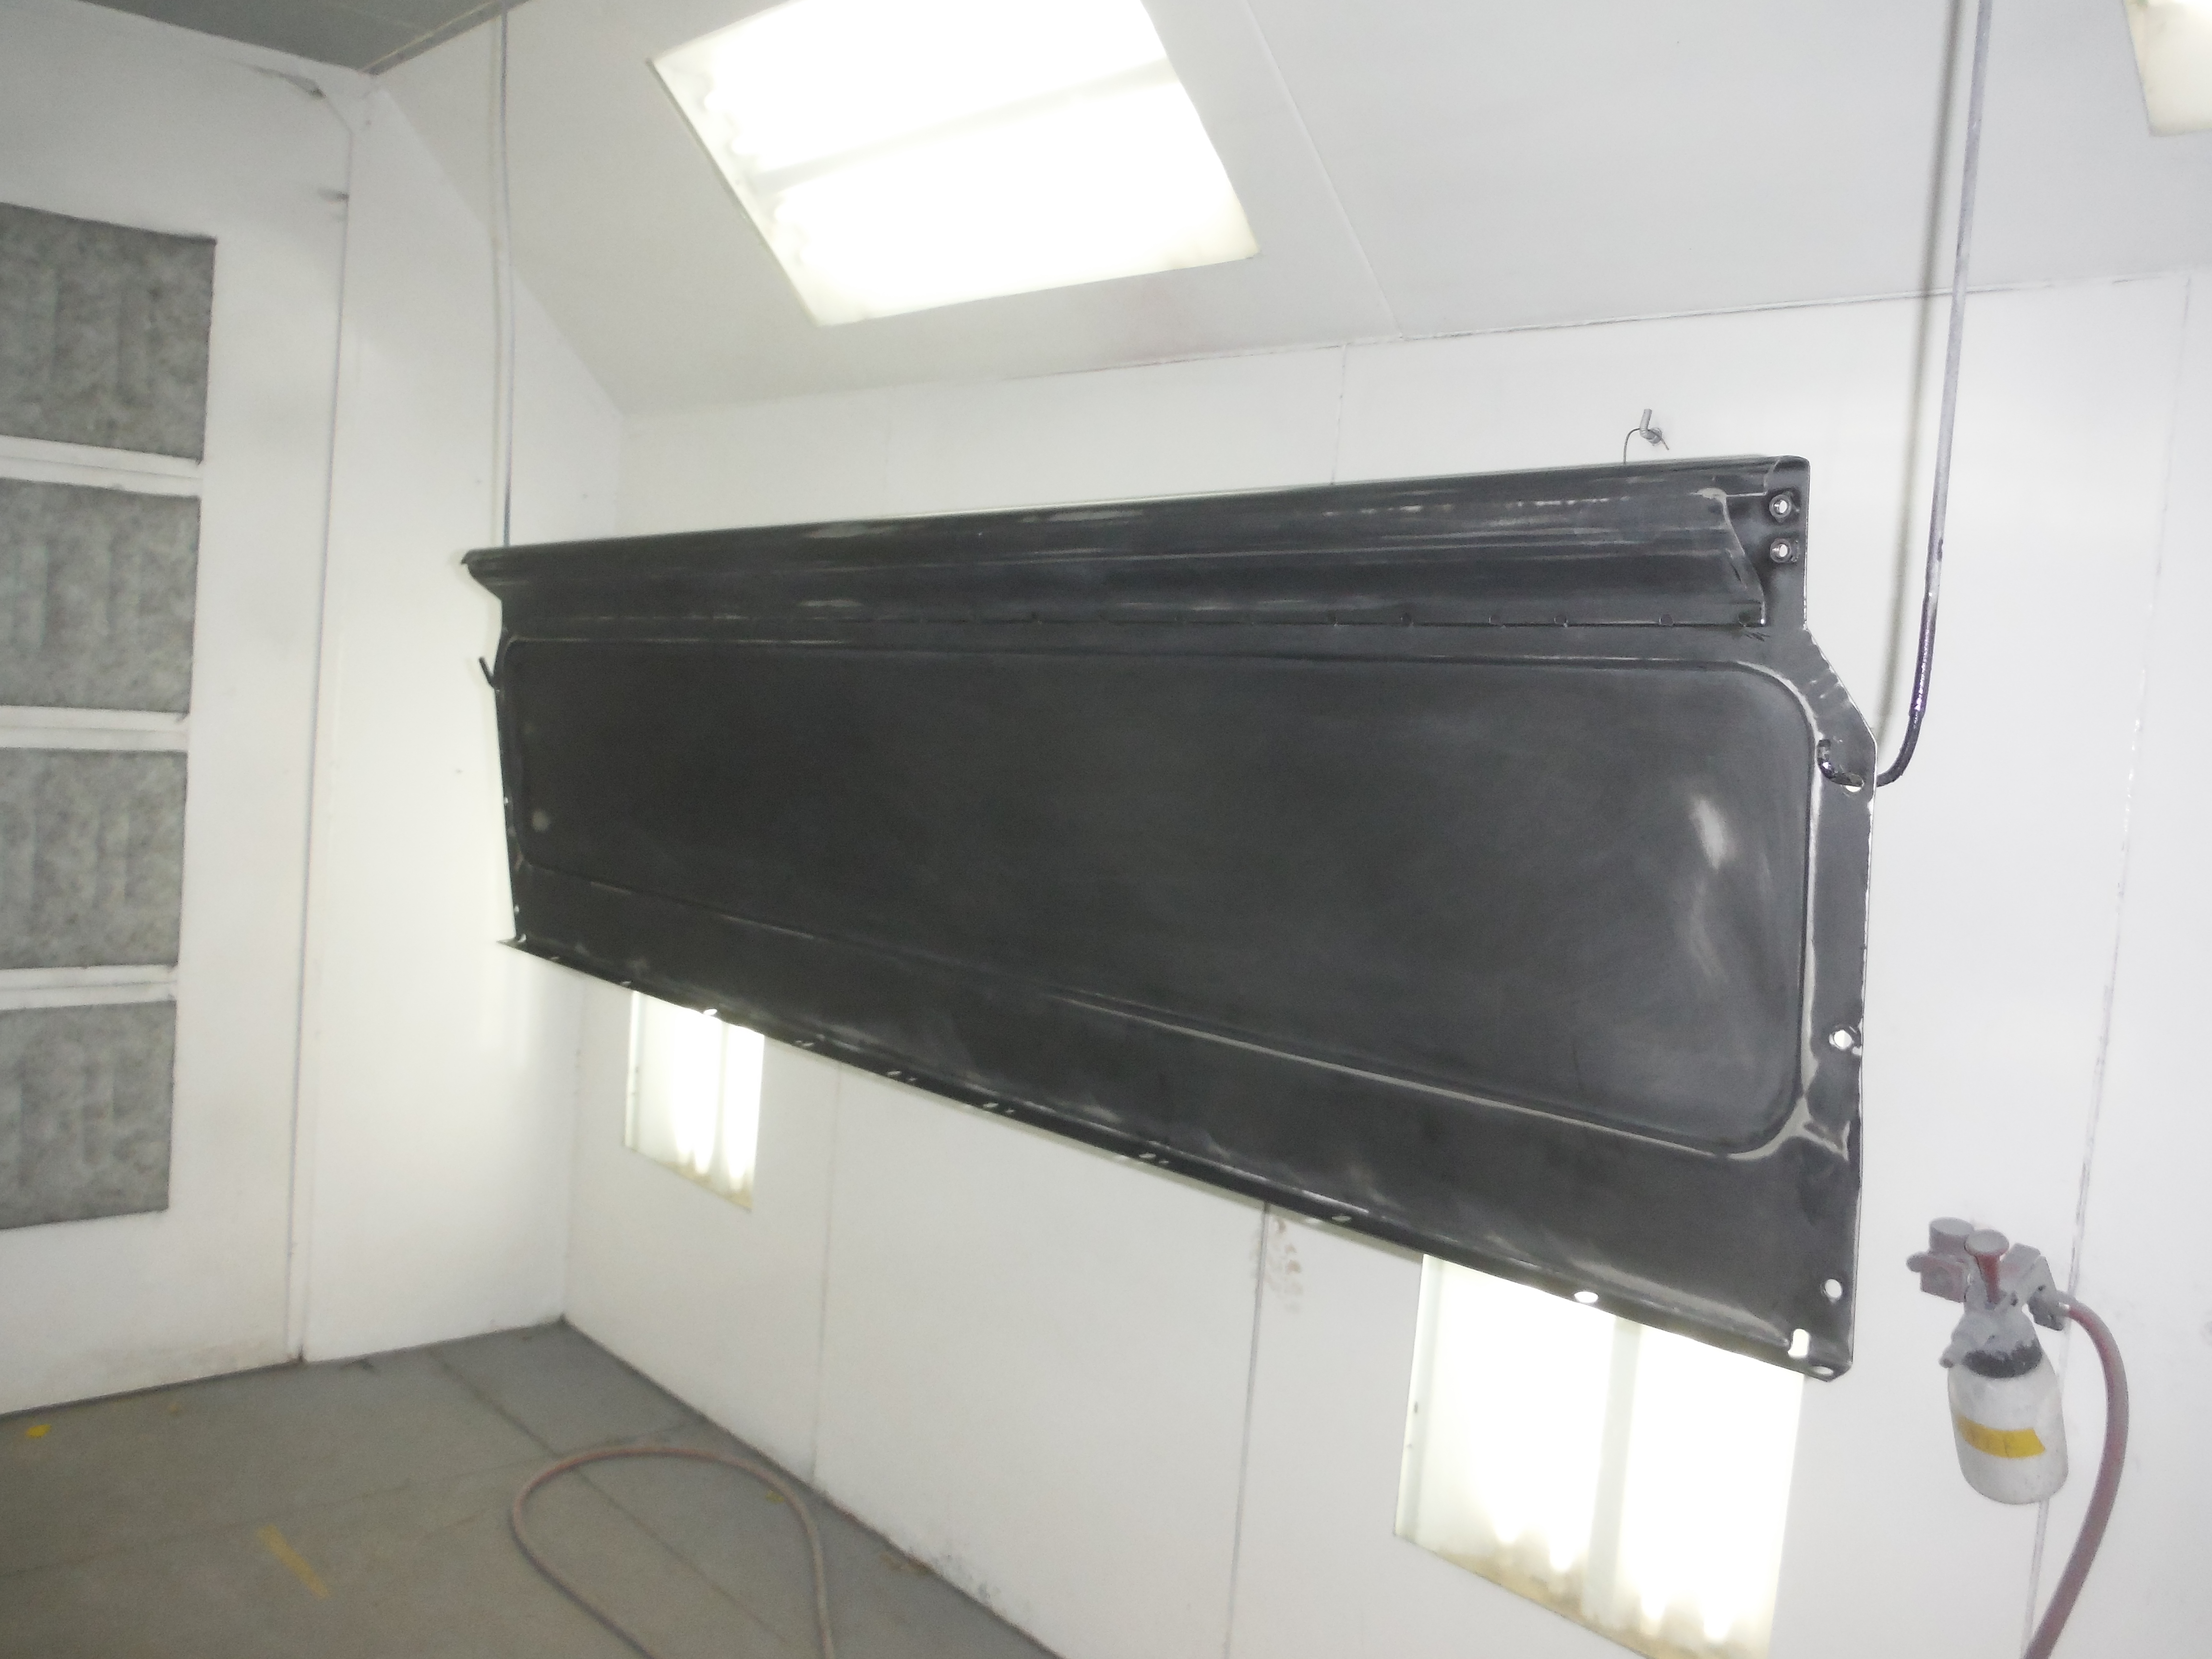
 After a few good days of prepping the floor and bottom of the cab we were finally able to spray it. The first couple of pictures show how not prepping panels properly turn out. The black peeling paint is actually POR 15. It was improperly applied so we removed it before applying our coatings over it. We started with a coat of PPG’s DPLV epoxy primer over the bare metal and properly prepared panels. We actually did that yesterday afternoon. This morning we came in applied SEM seam sealer to the seams and the weld areas where patches were installed. Once the seam sealer was dry, Jordan sprayed 2 coats of Raptor liner over the DP. This well provide a water proof barrier for the under side of this truck that will still look very nice. While we were at it, we also sprayed the inside of the bedsides that are exposed to the bottom of the truck. Up next, its time to start spraying some panels while we finish up the body work on the cab.
Bottoms up


 Still plugging away on the C-10. Last week we finished up the body work on the cab and applied a couple more coats of PPG’s high build epoxy. Because the body work was so extensive we will definitely block that out and prime it again to be sure we didnt miss anything. Today we started prepping bottom of the cab for bedliner. As you can see it was blasted giving us a good starting point. You can see there are new patches in the floors in the top corners. Those areas were a little thin and the cab mounts needed to be shored up some as well. While Jordan sanded the bottom, Paul got a great start on straightening out the rockers. We still have a bit of sanding to do on the floor and more work on the rockers but over the next couple of days we should be able to get the bottom of the cab sprayed with epoxy followed by a couple coats of Raptor liner.
Buggin’


 Progress on the Beetle is moving along. We have the fenders bolted down with new fender beading. The German running boards are on and looking really nice and the door glass is all in and functional. We have also removed the old exhaust system in preparation for the new one that is on its way. We also cleaned the engine up some while we were at it. The new turn signals are on and wired up as well as the head lights. We have also installed the new triple plated front bumper after we sandblasted the original brackets and repainted them semi gloss black. This one is really shaping up and it wont be long till its off the upholstery shop to get a new head liner.
